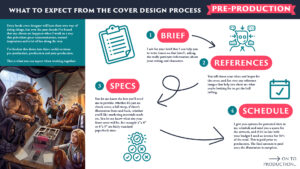
How to Design a Book Cover Step by Step
In the world of publishing, a book cover is more than just a protective layer—it’s the first impression that can make or break a reader’s decision to pick up your book. Whether you’re a self-published author, a graphic designer venturing into book design, or simply someone passionate about visual storytelling, designing a book cover is an art that combines creativity, strategy, and technical know-how. This step-by-step guide will walk you through the process of creating a compelling book cover from scratch. We’ll cover everything from initial research to final polishing, ensuring your design not only captures the essence of the book but also stands out in a crowded marketplace.
By the end of this article, you’ll have a clear roadmap to design your own book cover, even if you’re starting with limited experience. Tools like Adobe Photoshop, Illustrator, Canva, or free alternatives such as GIMP can be used, but the principles remain the same regardless of software. Let’s dive in.
Step 1: Understand the Book and Its Audience
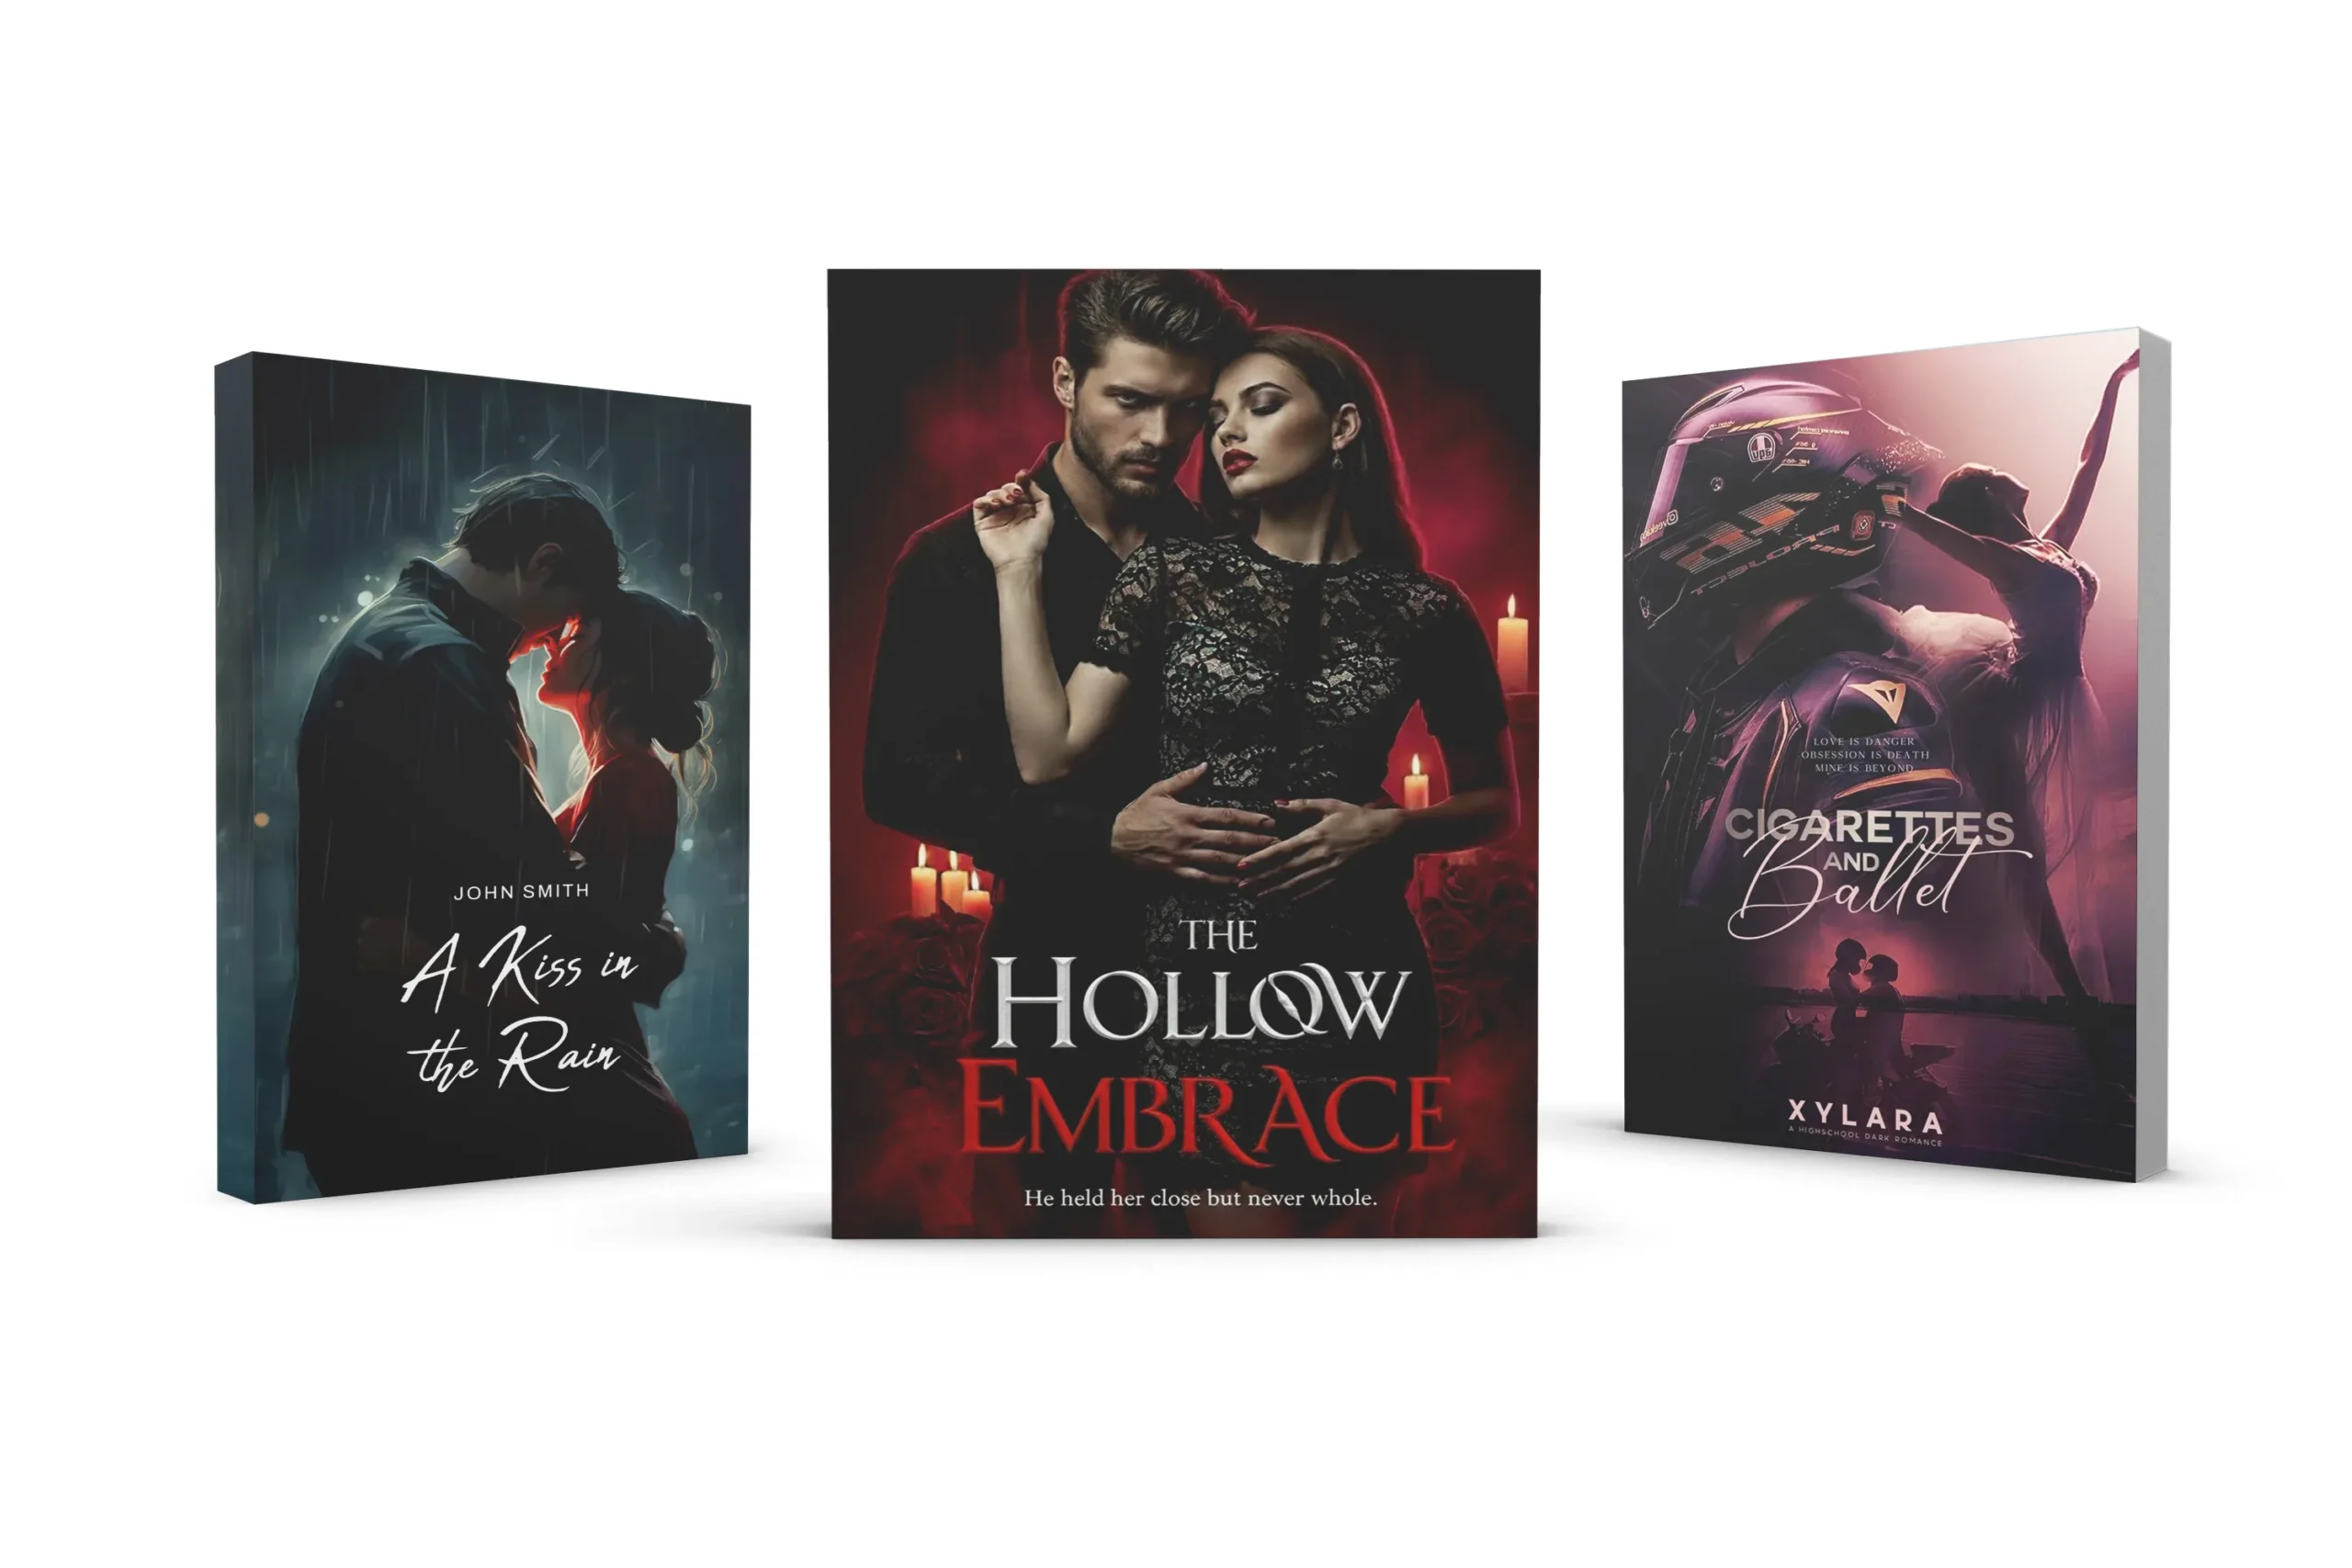
Before you even open your design software, the foundation of any great book cover lies in thorough research. Start by reading the book or, at minimum, a detailed summary. Identify the core themes, tone, and key elements. Is it a thriller with suspenseful undertones? A romance filled with passion? Or a non-fiction guide on self-improvement? Understanding the genre is crucial because book covers follow certain conventions—dark, moody colors for mysteries, vibrant pastels for young adult fiction, or clean, professional layouts for business books.
Next, consider the target audience. Who is this book for? Demographics like age, gender, and interests influence design choices. For instance, a cover aimed at young adults might incorporate trendy fonts and bold graphics, while one for older readers could favor elegant, timeless typography. Research competing books in the same genre. Browse Amazon, Goodreads, or bookstore shelves to see what works. Note common color schemes, imagery, and layouts, but aim to differentiate your design to make it unique.
This step might take a few hours to a day, but it’s essential. Jot down keywords from the book—emotions, symbols, or motifs—that could inspire visual elements. Create a mood board using tools like Pinterest to collect images, colors, and fonts that resonate with the book’s vibe. Remember, the cover should evoke curiosity and promise the reader an experience aligned with the content inside.
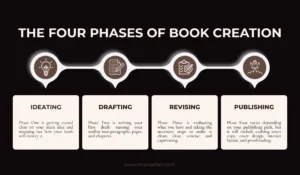
Step 2: Brainstorm Concepts and Sketch Ideas
With research in hand, move to ideation. This is where creativity flows freely. Begin with rough sketches on paper or digitally. Don’t worry about perfection; focus on exploring multiple concepts. Aim for at least 3-5 different ideas. For example, one might be minimalist with just typography and a subtle symbol, another could feature a dramatic illustration, and a third might use photography.
Consider the book’s title and author’s name as central elements. How can you integrate them visually? Think about hierarchy: The title should be the most prominent, followed by the author’s name and any taglines. Experiment with composition—rule of thirds, symmetry, or asymmetry—to guide the viewer’s eye.
Incorporate symbolism thoughtfully. If the book involves a journey, perhaps a winding path or map motif. Avoid clichés unless they fit perfectly. Tools like mind mapping software can help organize your thoughts. Share initial sketches with the author or beta readers for early feedback to refine directions before investing time in digital design.
This brainstorming phase ensures your final design is intentional and aligned with the book’s message, preventing costly revisions later.

Step 3: Choose the Right Tools and Set Up Your Canvas
Now it’s time to go digital. Select software based on your skill level and budget. Beginners might start with Canva or Affinity Designer for their user-friendly interfaces, while professionals often prefer Adobe Creative Suite for advanced features like layer management and vector editing.
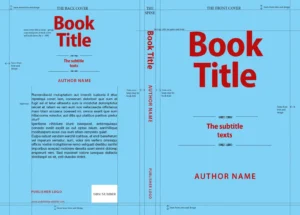
Set up your canvas correctly from the start. Book covers vary in size, but a standard paperback is around 6×9 inches (or 1800×2700 pixels at 300 DPI for digital work). Include bleed areas—typically 0.125 inches on all sides—for printing. If designing for e-books, focus on a 1:1.6 ratio like 1600×2560 pixels.
Familiarize yourself with color modes: RGB for digital, CMYK for print. This prevents color shifts during production. Organize your file with layers for elements like background, text, and images, making edits easier.
Step 4: Select Colors and Typography
Color psychology plays a huge role in book covers. Colors evoke emotions—red for passion or danger, blue for calm or trust. Choose a palette that reflects the book’s tone. Use tools like Adobe Color or Coolors to generate harmonious schemes. Limit to 2-4 main colors to avoid overwhelming the design.
Typography is equally vital. Fonts set the mood: Serif for traditional or literary works, sans-serif for modern vibes, script for romance. Ensure readability, especially at thumbnail size, as covers are often viewed small online. Pair fonts wisely—a bold display font for the title with a simple one for the author. Kerning, leading, and tracking adjustments can make text pop.
Test combinations on your mood board. Remember, the text must stand out against the background—use contrasts or subtle effects like drop shadows sparingly.
Step 5: Design the Layout and Incorporate Visuals
Build the layout starting with the background. It could be a solid color, gradient, texture, or image. If using stock photos or illustrations, ensure they’re high-resolution and licensed (sites like Unsplash or Shutterstock are great).
Place key elements: Title at the top or center, author’s name at the bottom. Add imagery that tells a story without spoiling it—a silhouette for mystery, floral elements for fantasy. Balance negative space to avoid clutter.
For the spine and back cover (if required), maintain consistency. The spine needs the title, author, and publisher logo vertically. The back includes a blurb, barcode, and endorsements.
Use grids and guides in your software for alignment. This step might involve multiple iterations—save versions to track progress.
Step 6: Add Effects and Refine Details
Enhance with subtle effects. Adjust brightness, contrast, or add filters for cohesion. For example, a vintage filter for historical fiction.
Focus on details: Ensure text is vector-based for scalability. Check for orphans (single words on lines) in typography. If including illustrations, draw or commission them to fit seamlessly.
Test the design in different formats—print a mockup or view on devices. Tools like Book Brush can create 3D mockups for visualization.
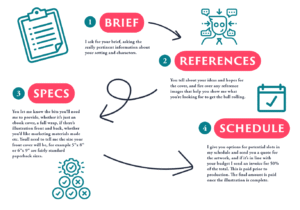
Step 7: Gather Feedback and Iterate
Share your design with others. Authors, designers, or target readers can provide insights. Use platforms like Reddit’s r/bookcovers or Behance for critiques.
Be open to changes—perhaps the color doesn’t convey the right emotion, or the font feels off. Iterate based on feedback, but stay true to the book’s essence. This might involve 2-3 rounds of revisions.
Step 8: Finalize and Prepare for Production
Once satisfied, prepare files for output. For print, export as PDF/X with embedded fonts and crop marks. For e-books, high-res JPEG or PNG.
Check specifications from printers like IngramSpark or KDP. Include ISBN barcode on the back.
Proofread everything—typos on covers are embarrassing. Finally, celebrate your creation!
Common Mistakes to Avoid
Avoid overdesigning—simplicity often wins. Don’t ignore genre conventions entirely, as they help with marketability. Always prioritize mobile-friendliness, as many sales happen online.
Tools and Resources
– Software: Adobe Suite, Canva, GIMP
– Fonts: Google Fonts, DaFont
– Images: Unsplash, Pixabay
– Learning: YouTube tutorials, books like “The Non-Designer’s Design Book” by Robin Williams
Designing a book cover is iterative and rewarding. With practice, you’ll develop an eye for what captivates readers. Whether for your novel or a client’s, this process ensures a professional result that boosts sales and pride.